Building Your Own ARM Lab
If you’re diving into ARM development or reverse engineering but don’t have physical ARM hardware like a Raspberry Pi, QEMU is your best friend. In this post, I’ll walk you through setting up a complete ARM lab on your PC using QEMU and a Raspberry Pi OS image—perfect for development, debugging, and security research.
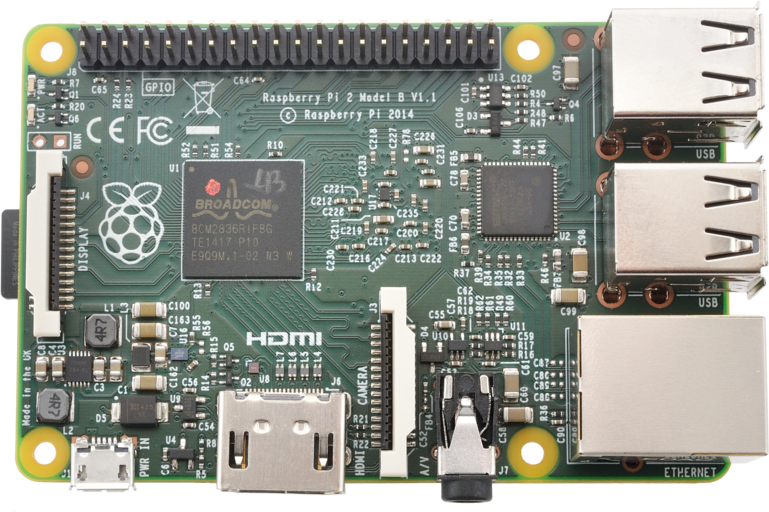
I will be emulating Raspberry Pi 2 Model B
Prerequisites: Install QEMU
1
2
sudo apt-get update
sudo apt-get install qemu-system-arm qemu-utils
Step 1: Get a Raspberry Pi ARMv7 Image
For this lab, we’ll use the Raspberry Pi OS Lite image (formerly called Raspbian), which is lightweight and ARMv7 compatible.
Download the image and extract it
1
2
$ wget https://downloads.raspberrypi.org/raspios_lite_armhf/images/raspios_lite_armhf-2020-05-28/2020-05-27-raspios-buster-lite-armhf.zip
$ unzip 2020-05-27-raspios-buster-lite-armhf.zip
Resize the Image (Optional but Recommended)
The default image is around 1.8 GB. Resize it to 4 GB for more breathing room:
1
2
3
4
5
$ ls -lh 2020-05-27-raspios-buster-lite-armhf.img
-rw-r--r-- 1 fury fury 1.8G May 27  2020 2020-05-27-raspios-buster-lite-armhf.img
$ qemu-img resize 2020-05-27-raspios-buster-lite-armhf.img 4G
$ ls -lh 2020-05-27-raspios-buster-lite-armhf.img
-rw-r--r-- 1 fury fury 4.0G Jul 14 23:17 2020-05-27-raspios-buster-lite-armhf.img
Step 2: Modify the Image for QEMU
QEMU doesn’t perfectly emulate Raspberry Pi hardware out of the box, so we’ll make a few tweaks:
Enable SSH and Set Serial Console
1. Setup loop devices and mount partitions:
1
2
sudo losetup -Pf --show 2020-05-27-raspios-buster-lite-armhf.img
# Note the loop device output, e.g., /dev/loopXX
2. Mount the boot partition (FAT32):
1
2
3
4
sudo mkdir /mnt/raspi
sudo mount /dev/loopXXp1 /mnt/raspi
sudo touch /mnt/raspi/ssh  # Enable SSH
echo "console=ttyAMA0 root=/dev/sda2 rootfstype=ext4 rw" | sudo tee /mnt/raspi/cmdline.txt
Step 3: Extract Kernel and DTB
We need a compatible kernel and DTB file for QEMU:
1
2
3
cp /mnt/raspi/kernel7.img .
cp /mnt/raspi/bcm2709-rpi-2-b.dtb .  # Or bcm2708-rpi-b-plus.dtb for Pi 1
sudo umount /mnt/raspi
3. Mount the root partition (ext4):
1
2
sudo mount /dev/loopXXp2 /mnt/raspi
echo "T0:23:respawn:/sbin/getty -L ttyAMA0 115200 vt100" | sudo tee -a /mnt/raspi/etc/inittab
Or you can also directly mount using offset:
1
2
3
fdisk -l 2020-05-27-raspios-buster-lite-armhf.img
# Find offset of partition 2 and mount like this:
sudo mount 2020-05-27-raspios-buster-lite-armhf.img -o offset=$((532480*512)) /mnt/raspi/raspi
Step 4: Set a Password (Optional)
Want to set your own root/pi password?
1
openssl passwd -6
Replace the password hash of the pi user in /etc/shadow using a text editor (after mounting the root partition again).
For example I used pi as password and I got this hash -
1
2
# Add the following line in /etc/shadow in place of `pi` user
'pi:$6$rBoByrWRKMY1EHFy$ho.LISnfm83CLBWBE/yqJ6Lq1TinRlxw/ImMTPcvvMuUfhQYcMmFnpFXUPowjy2br1NA0IACwF9JKugSNuHoe0':..:..:..
1
2
sudo umount /mnt/raspi
sudo losetup -d /dev/loopXX
Step 5: Boot with QEMU
Create a launch script run.sh:
1
2
3
4
5
6
7
8
9
10
11
12
13
14
#!/bin/bash
qemu-system-arm \
    -M raspi2b \
    -cpu cortex-a7 \
    -m 1G \
    -hda 2020-05-27-raspios-buster-lite-armhf.img \
    -dtb bcm2709-rpi-2-b.dtb \
    -kernel kernel7.img \
    -append "root=/dev/mmcblk0p2 rootfstype=ext4 rw console=ttyAMA0,115200 console=tty1 rootwait" \
    -net nic \
    -net user,hostfwd=tcp::5022-:22 \
    -serial mon:stdio \
    -nographic \
    -no-reboot
Make it executable:
1
2
chmod +x run.sh
./run.sh

1
2
3
4
5
6
7
8
9
10
11
12
raspberrypi login: pi
Password:
Linux raspberrypi 4.19.118-v7+ #1311 SMP Mon Apr 27 14:21:24 BST 2020 armv7l

The programs included with the Debian GNU/Linux system are free software;
the exact distribution terms for each program are described in the
individual files in /usr/share/doc/*/copyright.

Debian GNU/Linux comes with ABSOLUTELY NO WARRANTY, to the extent
permitted by applicable law.
pi@raspberrypi:~$ uname -r
4.19.118-v7+
I didn’t faced it but just in case if you face error like this -
qemu-system-arm: Invalid SD card size: 5.73 GiB
SD card size has to be a power of 2, e.g. 8 GiB.
You can resize disk images with 'qemu-img resize <imagefile> <new-size>'
Resize the image to 4G or 8G
1
qemu-img resize 2020-05-27-raspios-buster-lite-armhf.img 8G
If you enabled SSH, you can connect from your host:
1
ssh -p 5022 pi@localhost
In case of armv7l which unfortunately is our present target architecture I was not able to connect using SSH although SSH server was running in QEMU but I was not able to connect. If you found a way for this architecture then please let me know!
I tested the same configuration on Aarch64 and it was working correctly.
I will be adding peda-arm extension to GDB for an enhanced debugging experience because pwndbg was not working. You can try that if it works in your case -
Installation
1
git clone https://github.com/alset0326/peda-arm.git peda-arm
As we are not able to connect to the internet what we can do is we will move this directory peda-arm into our mounted /mnt/raspi/home/pi and then unmount it. Inside QEMU run the command -
1
echo "source ~/peda-arm/peda-arm.py" >> ~/.gdbinit
Now, launch GDB inside the emulated Raspberry Pi and begin debugging.
Tip
To exit QEMU when running in terminal or headless mode (using -nographic or -serial mon:stdio), press Ctrl + A, release both keys, and then press X.